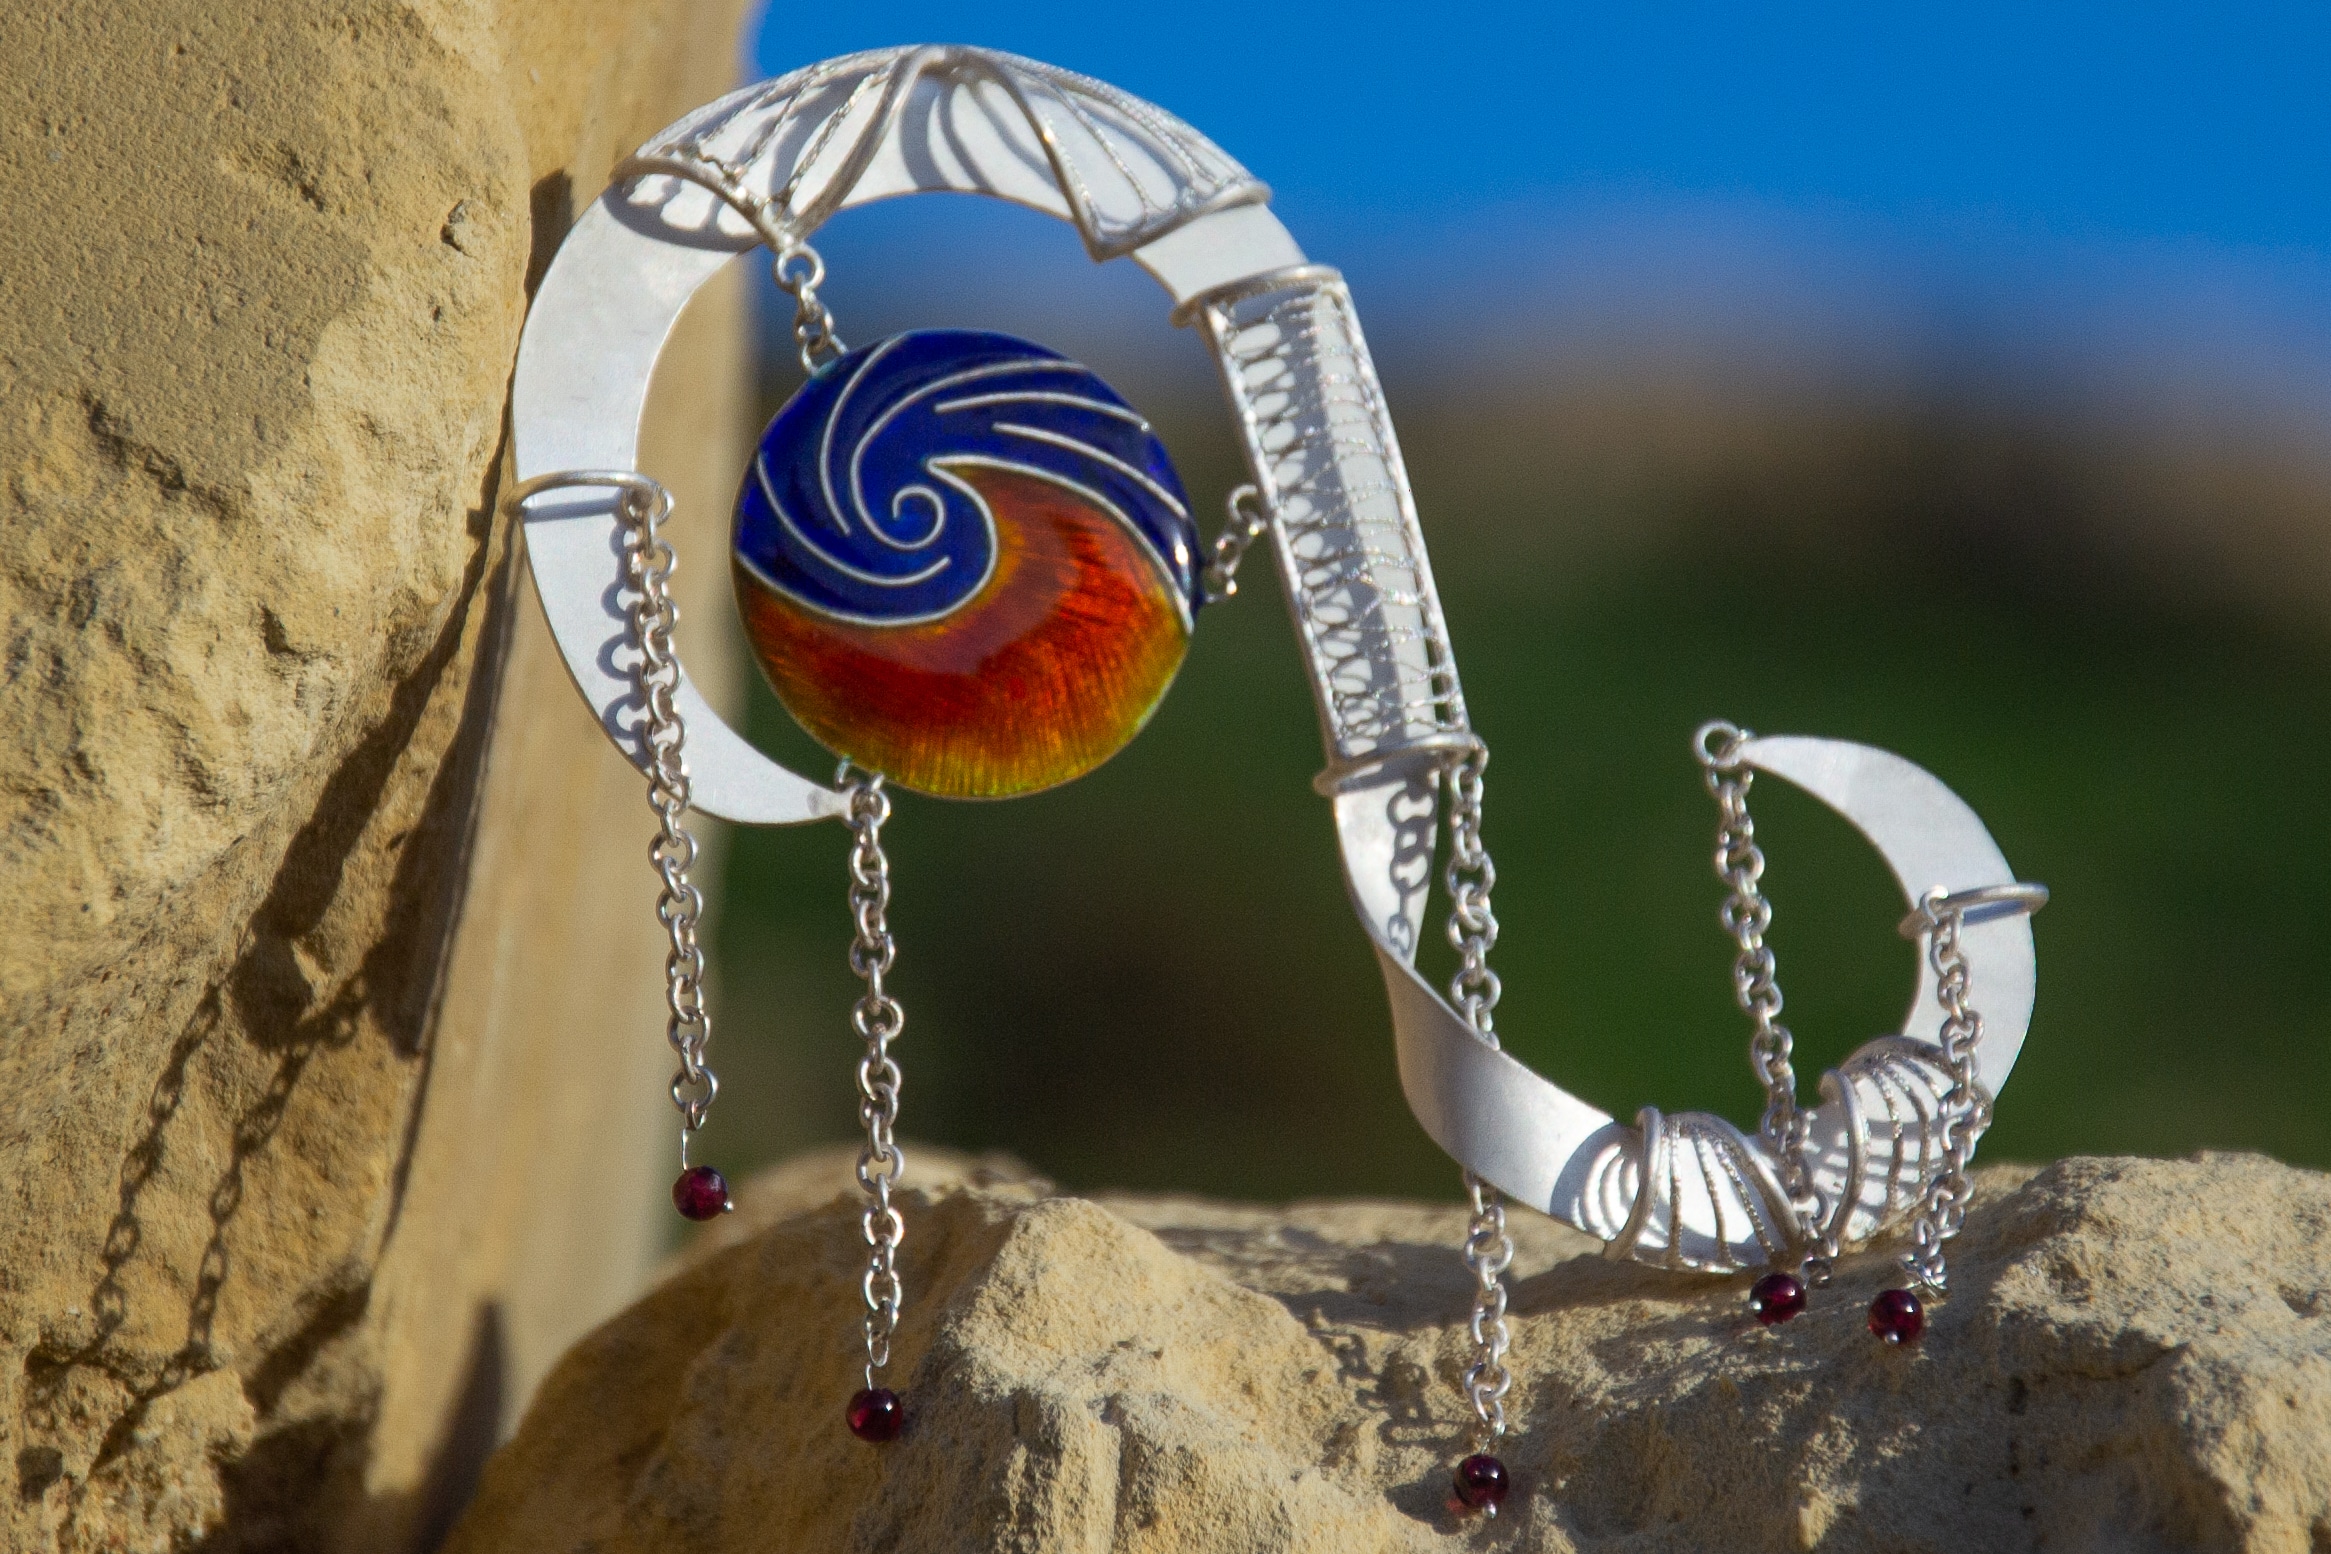
 Created in 925 sterling silver with cloisonne enamel, filigree, hand made chain and garnets.
I did not know anything about Indian wedding traditions until my client asked me to design and make a contemporary reminder of Indian wedding jewellery. She wanted a modern, flowing large brooch which would include her favourite colours of amber and blue. Because my client wanted to wear the brooch on various jackets she wanted it to be able to rotate so it would look slighly different each time.
The Design Process
I started researching Indian wedding jewellery and traditions which I found fascinating and full of symbolism. My first step was to prepare a simple mood board of photographs to help me pinpoint which aspects of Indian wedding culture resonated with my client. This would help me to create an emotionally meaningful design specifically for my client.
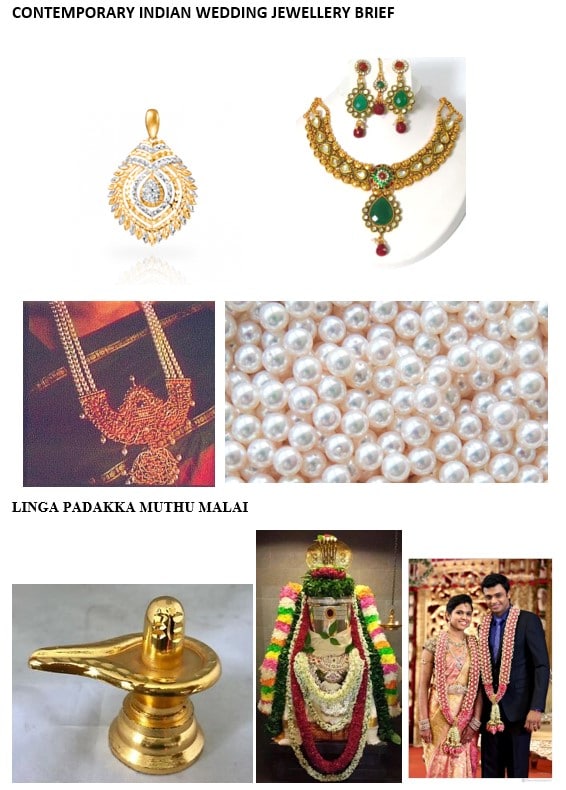
The photo of a couple wearing gold and red garlands on the mood board had the greatest emotional meaning for my client. She liked the symbolism, the form, colours and tassels. This became the basis for developing a design.
The Varmala or Jaimala Ceremony marks the true beginning of a Hindu wedding. The exchange of flowered garlands, called mala in Hindi, is traditionally where the bride puts her garland over the head of the groom and represents her choosing him as her husband. When he puts the garland over her head then it is a symbol that they agree to be united. However, at some weddings this is more playful as the groom dodges the bride’s attempts to put the garland over his head because some say that if she is successful then she will be the stronger partner in the marriage. The garlands are usually made from strings of real flowers, in different colours and thicknesses.
I experimented with a twisted “S” shaped design to represent the couple’s garlands, as if they were joined, going round the back of the bride’s neck and looping down in front of the groom.

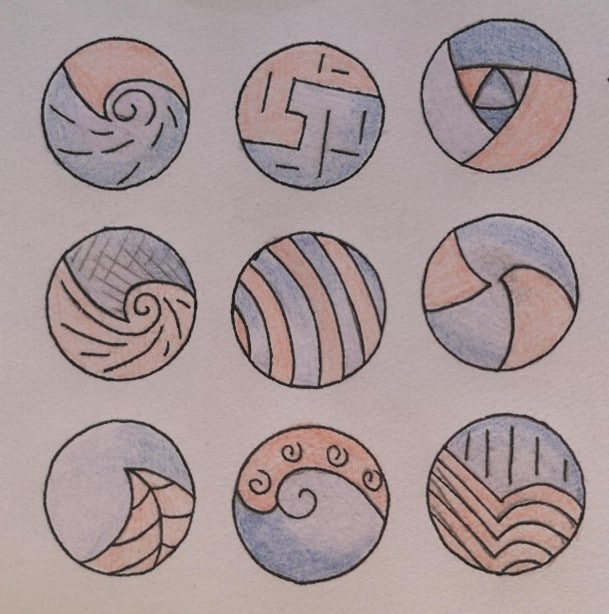
The client wanted to incorporate her favourite colours, so I picked up on the brightly coloured groom’s tie encircled by the garland in the photograph. I added a circle of enamel in her favourite colours within one side of the “S” design.
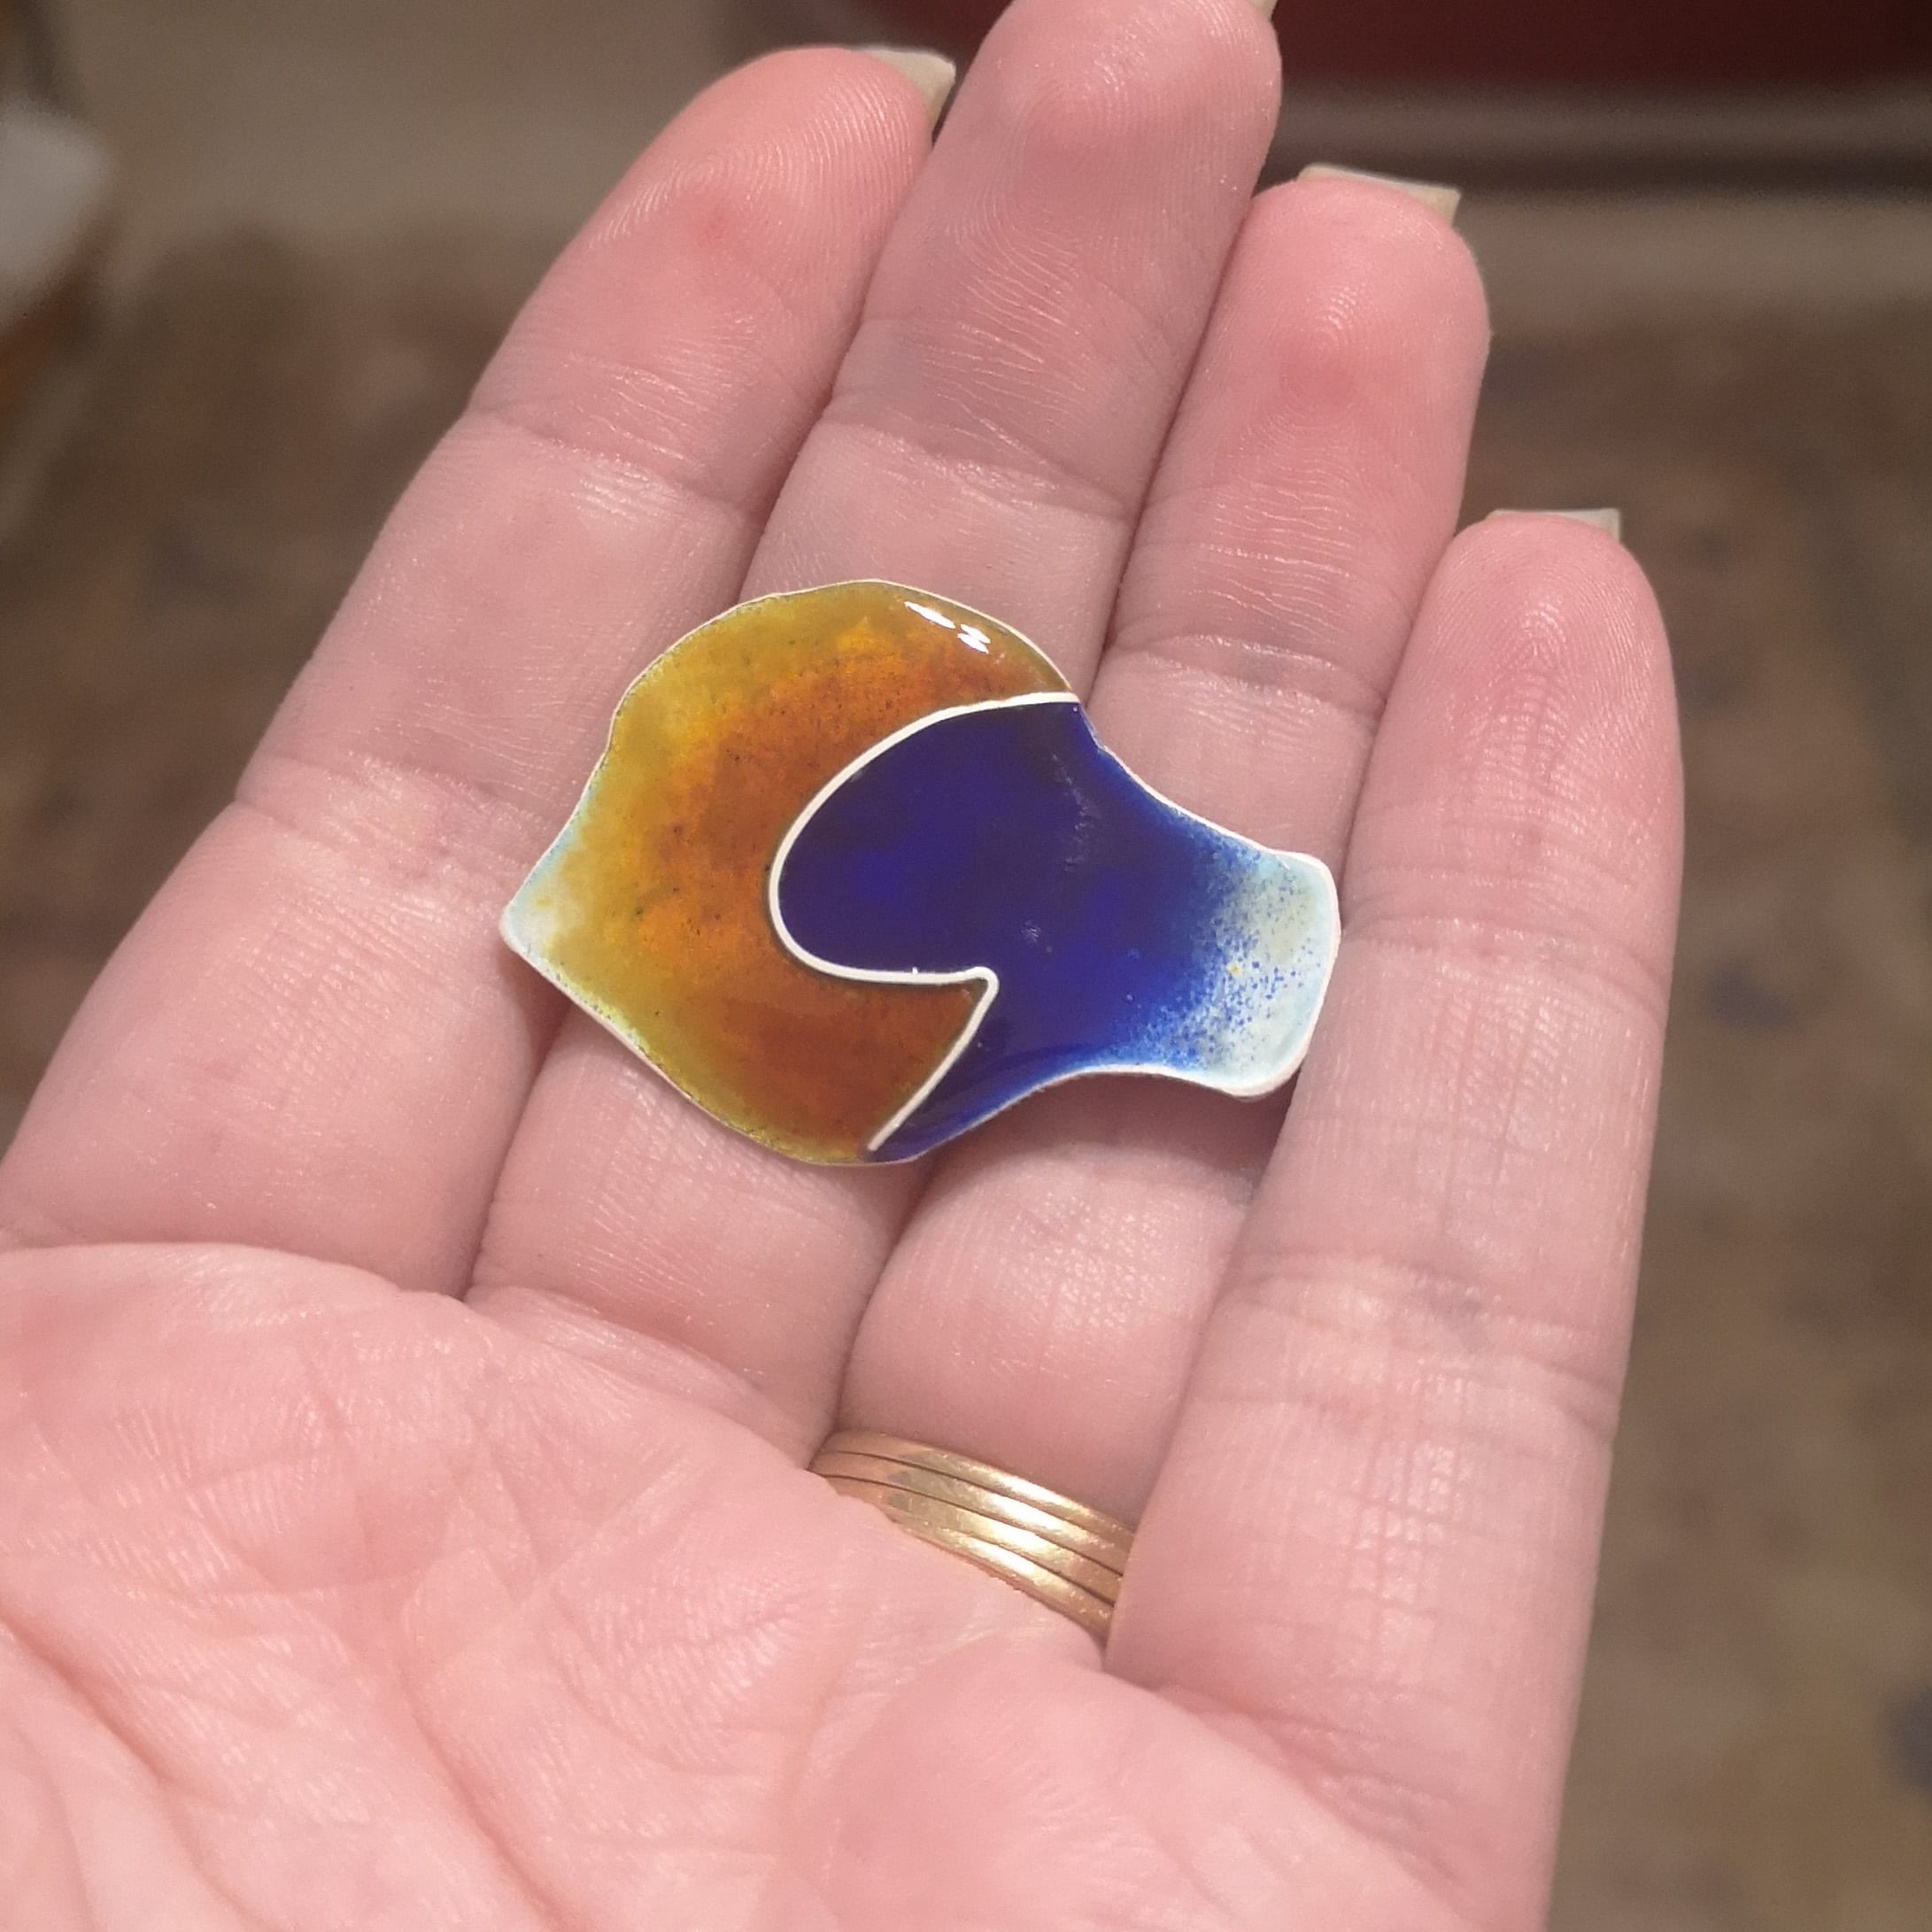
The client wanted to incorporate her favourite colours of amber and royal blue so I created enamel samples, so that she could approve the colour and the choice of cloisonné enamelling.
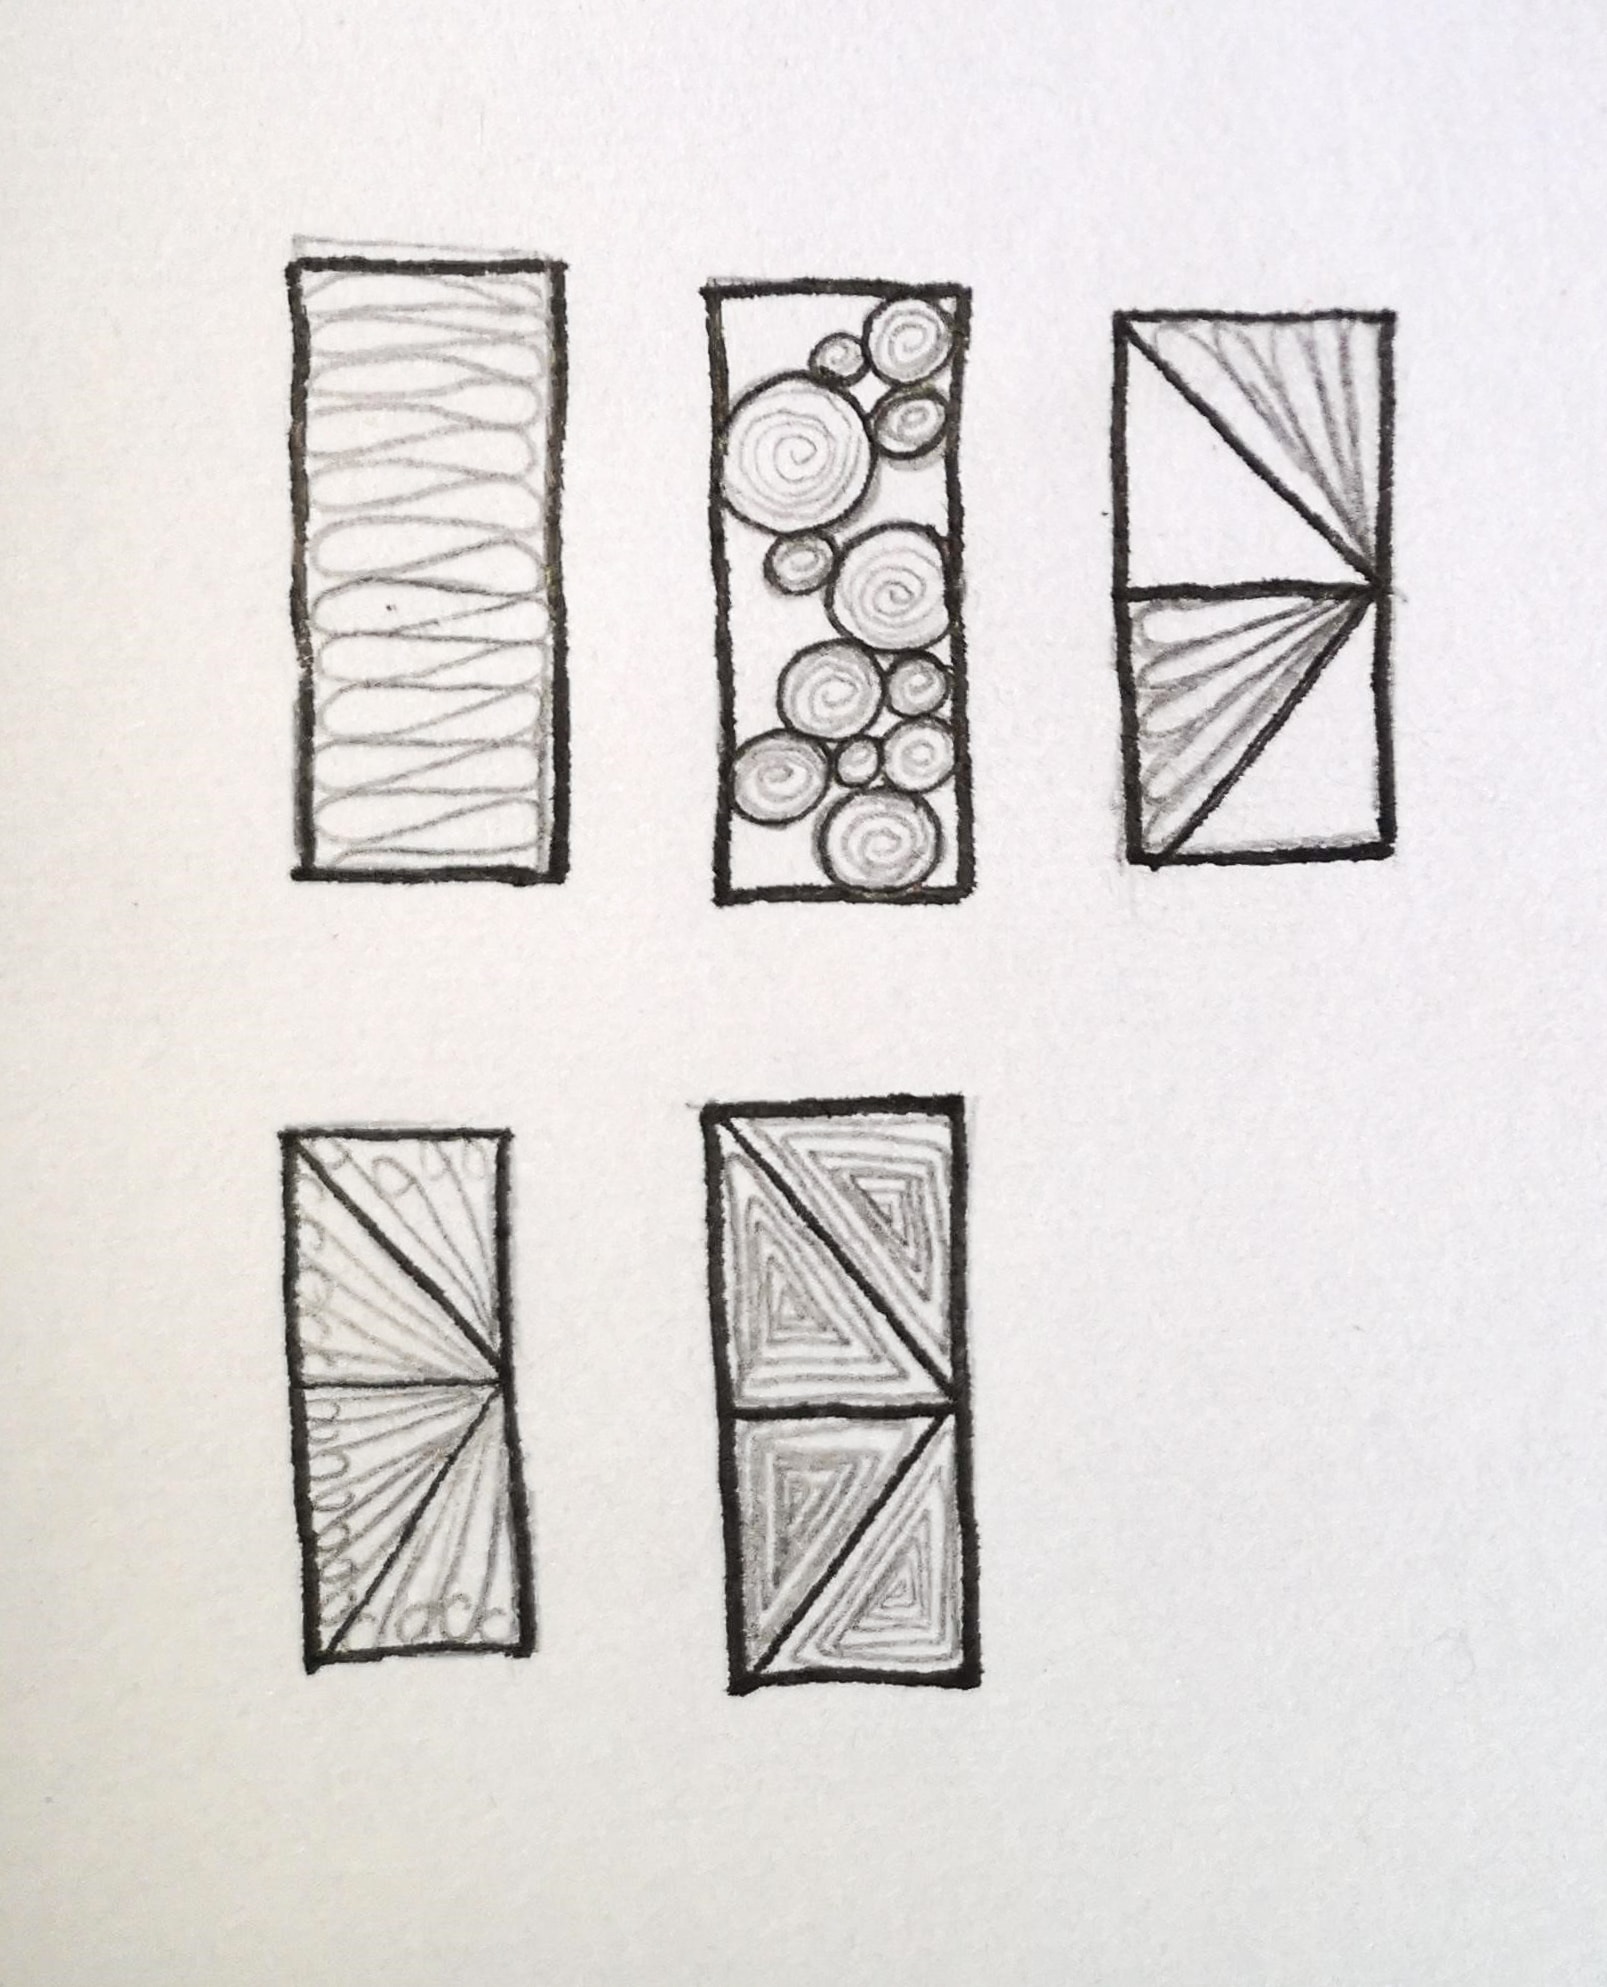
The hardest element of the design was how to recreate the impression of the rounded volume of the actual flowered garlands. I decided to use filigree to give a visually open 3D effect. I developed a number of different filigree designs but in fact the curves looked best with one style and the straight section looked best with a different technique.
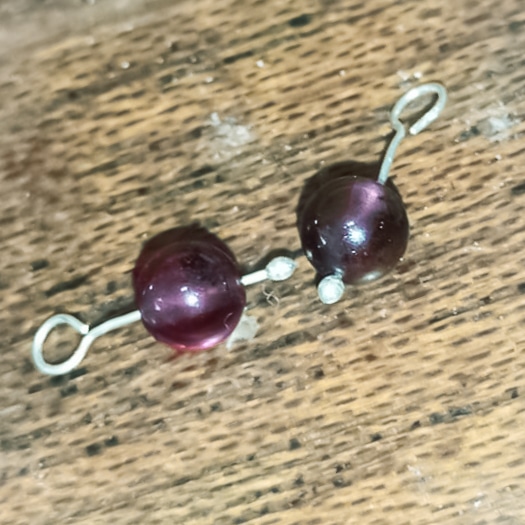
The tassels on the garlands add movement. The client chose garnet beads to put on the end of chain to represent the fun aspect of the Varmala ceremony and add movement to the design.

I met regularly with the client and discussed the design steps and options so I was sure the brooch was eactly what she wanted.
The Making Process
The design of this brooch meant that there were a large number on individual making processes: cutting the silver form, engraving, cloisonné enamelling, filigree making, beading silver wire for garnets, handmaking chain and finally the construction bringing all of these elements together.
If you would rather watch a video of the making processes I have put together all the videos I took as I was creating the brooch. This is avaliable at the end of this blog.

First I cut the support structure for the brooch from silver sheet, together with the circle for enamelling.

Next I traced the engraving design onto the silver for enamelling. I attached the silver to a wooden surface so it would not move while I engraved by hand.
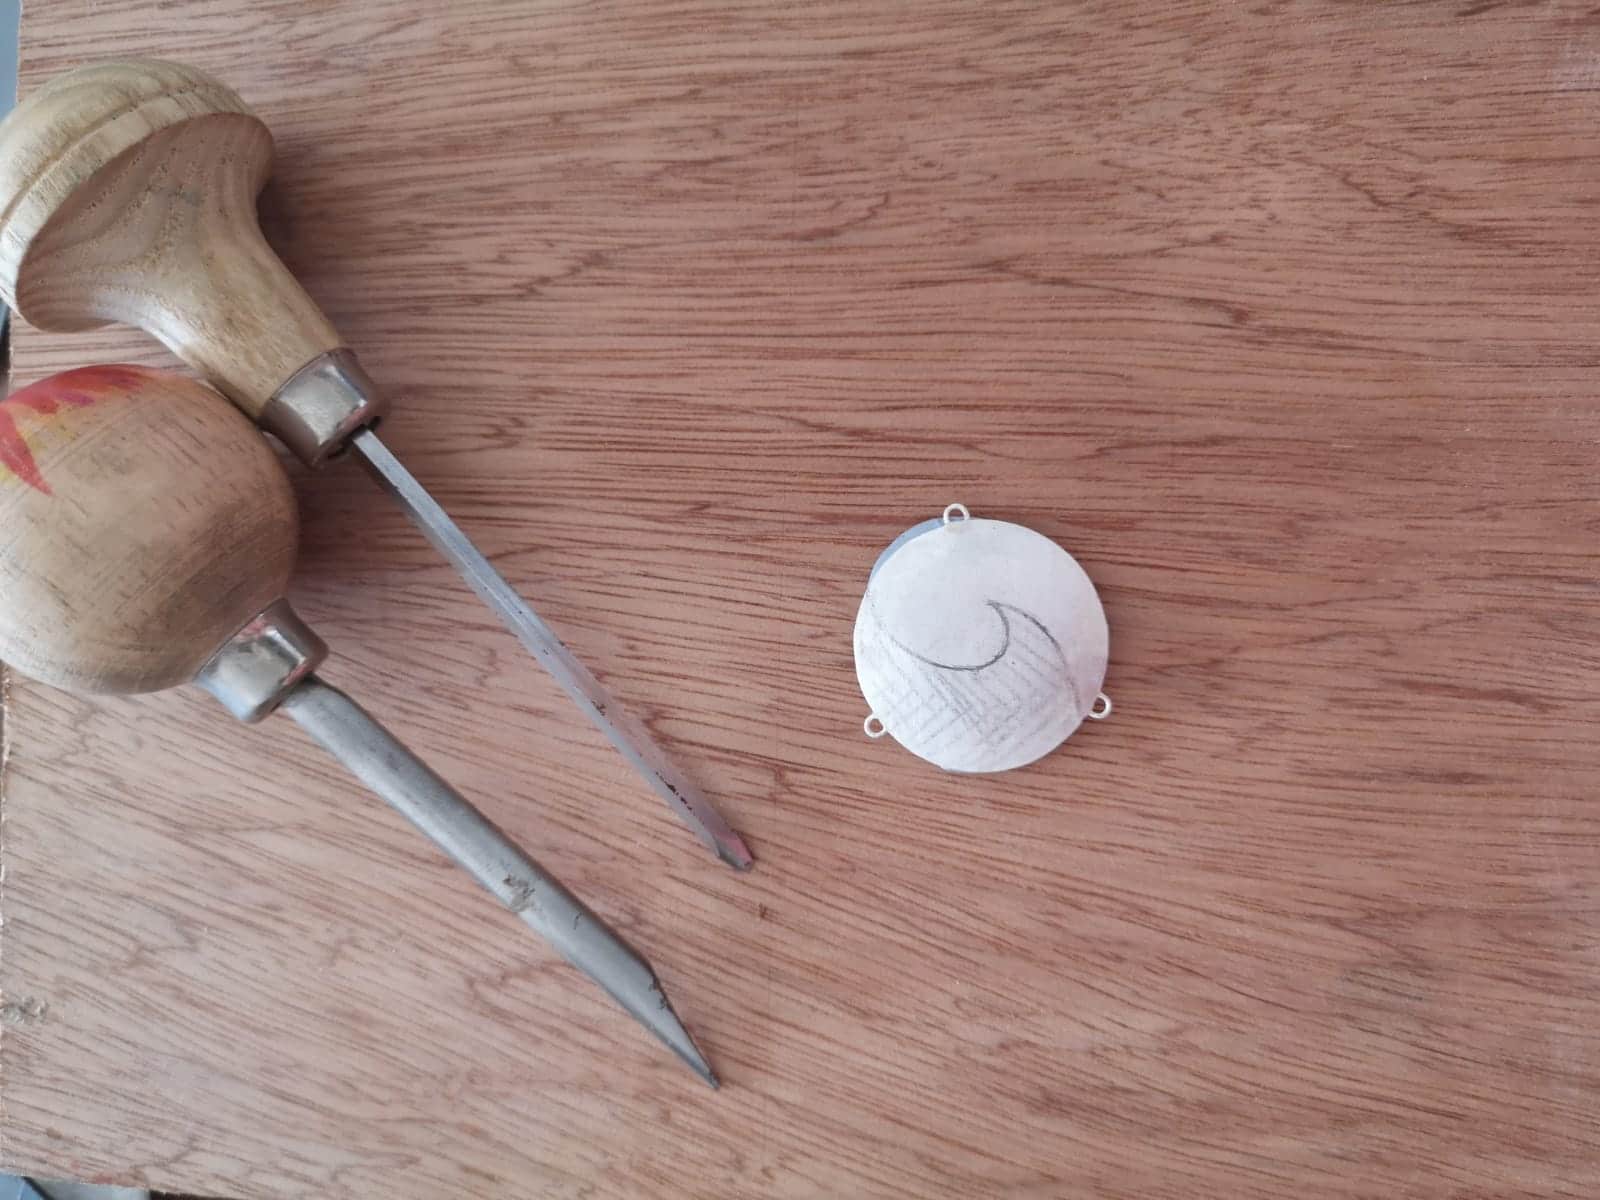
Once the engraving was finished I added the cloisonné wire and two tone enamel in my client’s favourite colours.

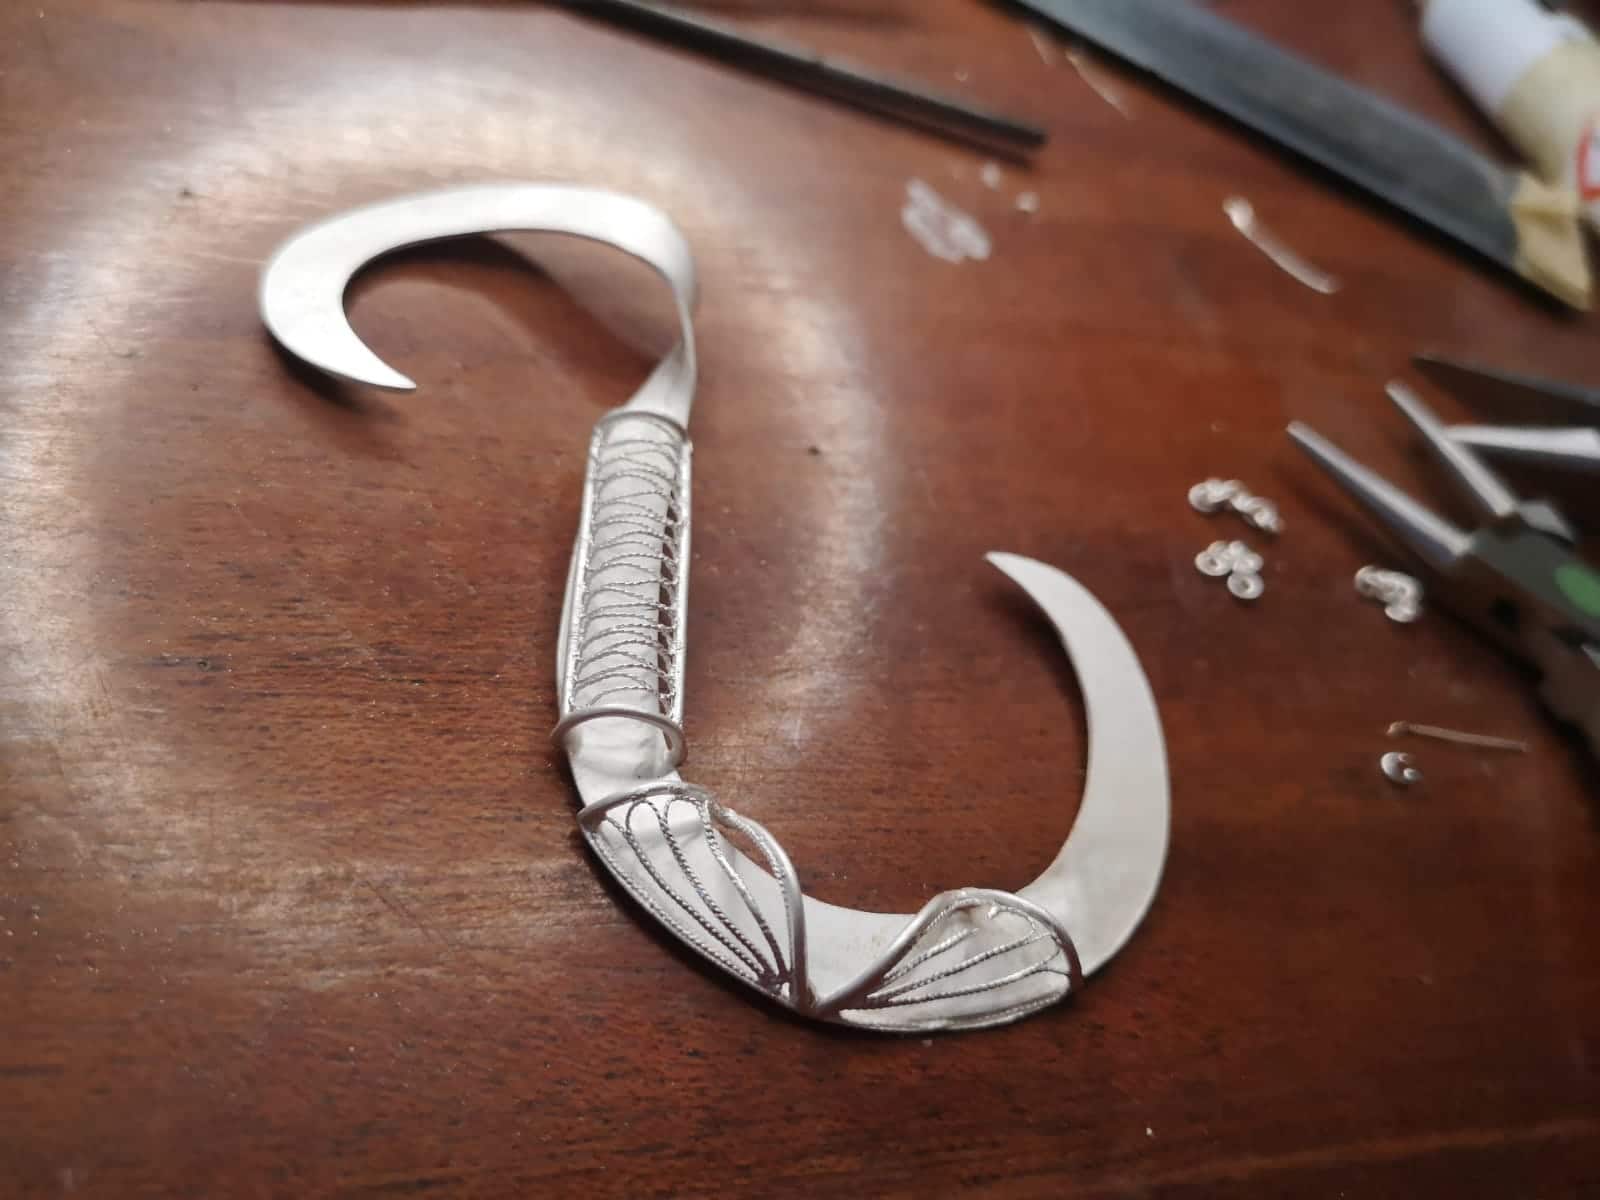
One of the most difficult elements to make was the filigree, which I was using to give a 3D sense of a flower garland. Filigree is made in a flat silver wire frame and then bent into shape. I had made life very difficult for myself because my design had filigree on the bend of 2 curves, on a twisted silver frame and domed. The only way I could think to create the right frame for the filigree was to use modelling clay to represent the 3D curves. This is how I finally created the frames I used.

I beaded fine silver chain to act as a stopper for garnet beads. Then I handmade chain to connect these to the brooch.
Constructing the brooch began by twisting the silver frame and adding the filigree.
Next the chain with garnets were positioned to make sure that the brooch could be rotated at different angles to create a new look, without the chains tangling or being hidden. Chain was also used to suspend the enamel in place inside the frame.
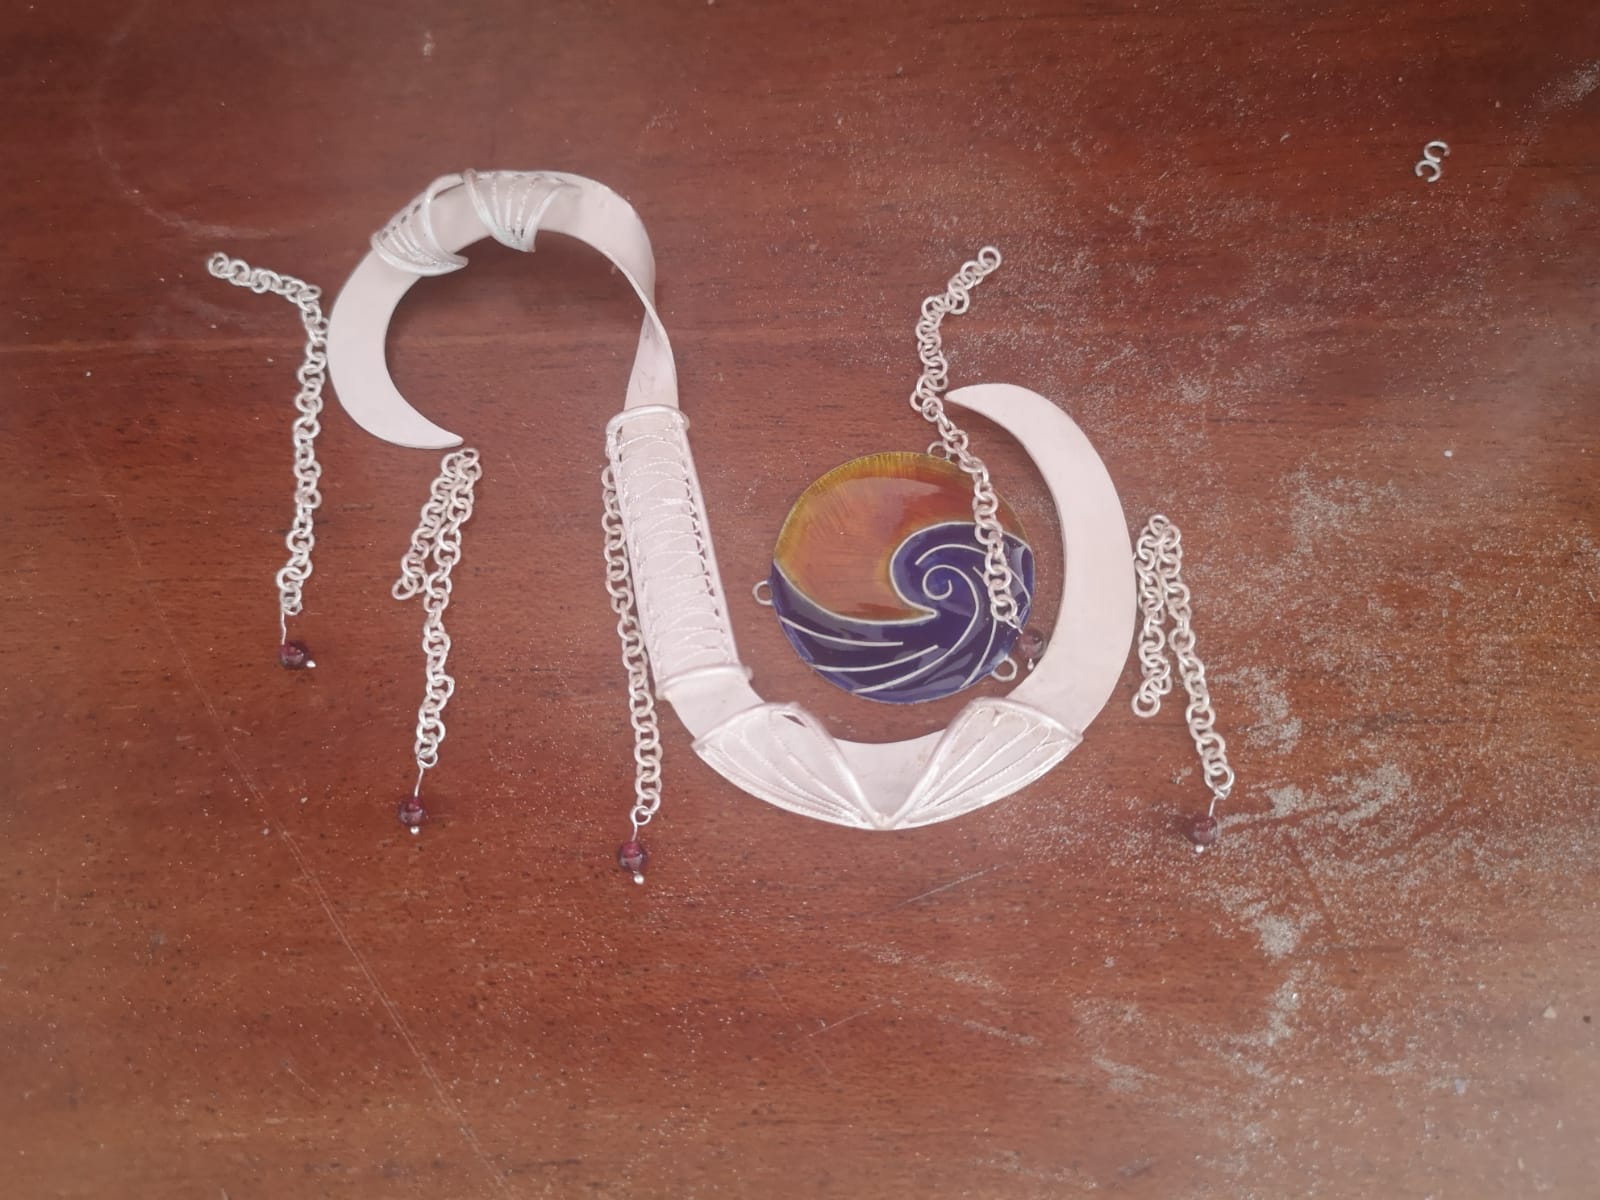
Because of the complex design and filigree we agreed that the brooch would be left white and not polished.
This viedo shows a lot more detail on the individual making processes.

Here you can see the back of the brooch which was counter enamelled in royal blue. Below is the finshed brooch on a lapel.

